You know them and if you’ve ever looked for a quick, high protein breakfast to have with your morning coffee then you’ve probably ordered them. The Egg Bites at Starbucks. I’ll admit, they are pretty delish although a bit pricey and truthfully, not the healthiest choice on their menu. I’ve made dozens of mini, crustless quiches but the texture just wasn’t as smooth as the ones at Starbucks. The code – or egg – has been cracked and making a better version of the egg bites is easy to do thanks to recipe sleuths on the internet. Two not so secret things make all the difference – cottage cheese and a hot water bath. Starbucks cooks their egg bites via the French Sous Vide method (in a water bath) which gives them a silky texture. I’m eating lots more protein and veggies these days so my version has lots of veggies and I swapped out the bacon for Canadian Bacon but you can use any breakfast meat, or no meat at all. I’ve used broccoli, zucchini, and spinach but you can use whatever veggie you like as long as you chop/dice it and cook it before you add it to the filling. No substitute for cheese but one cup of shredded cheese divided among 12 egg bites means a little goes a long way. I shred my own which is cheaper than the bag stuff and doesn’t have any anti-caking preservatives. I get a dozen out of this recipe and when I did a cost comparison, mine are $2.20 for two vs. $5.25 at Starbucks. I make a batch each weekend and they only take 30 seconds each in the microwave so they are quick, healthy and easy weekday breakfast (or snack!).
Ingredients
5 Eggs
2 Egg whites
1 cup Freshly shredded cheese (I like Swiss or Gruyere)
1 cup Cottage Cheese (I use Breakstone)
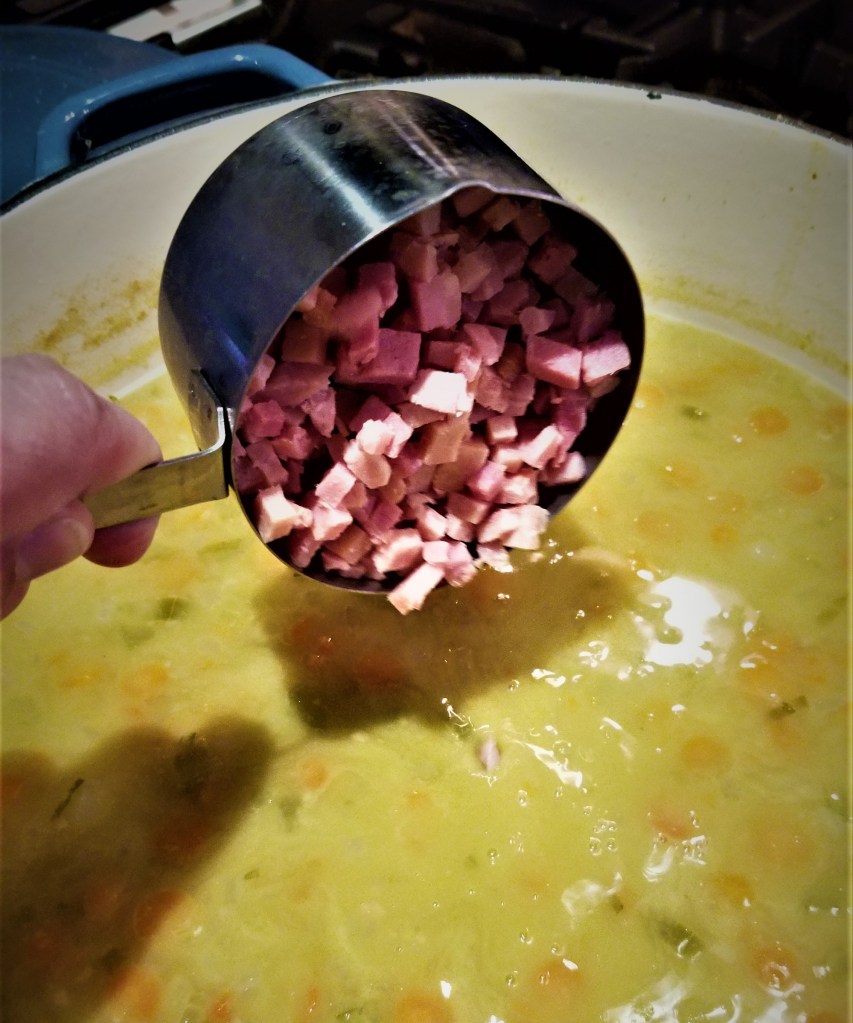
½ cup Finely diced Canadian Bacon (or your favorite breakfast meat)
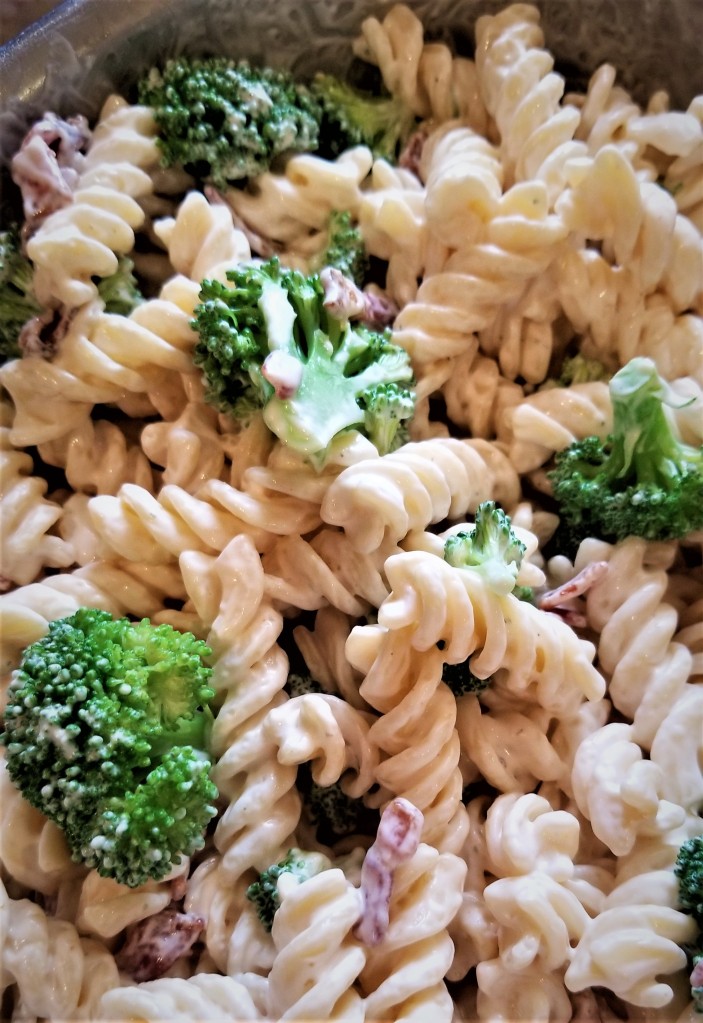
½ cup Diced, cooked broccoli or zucchini (or your favorite veggie)
1 tsp Seasoned Salt (I love Lawry’s Low Sodium)

Directions
Preheat your oven to 350 and grease a silicone muffin pan (I use canola spray).
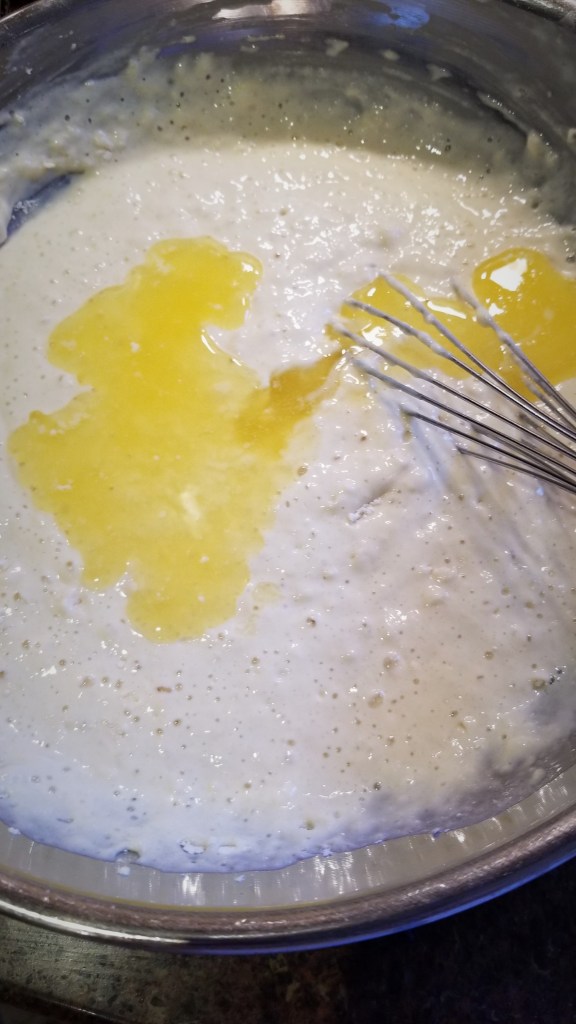
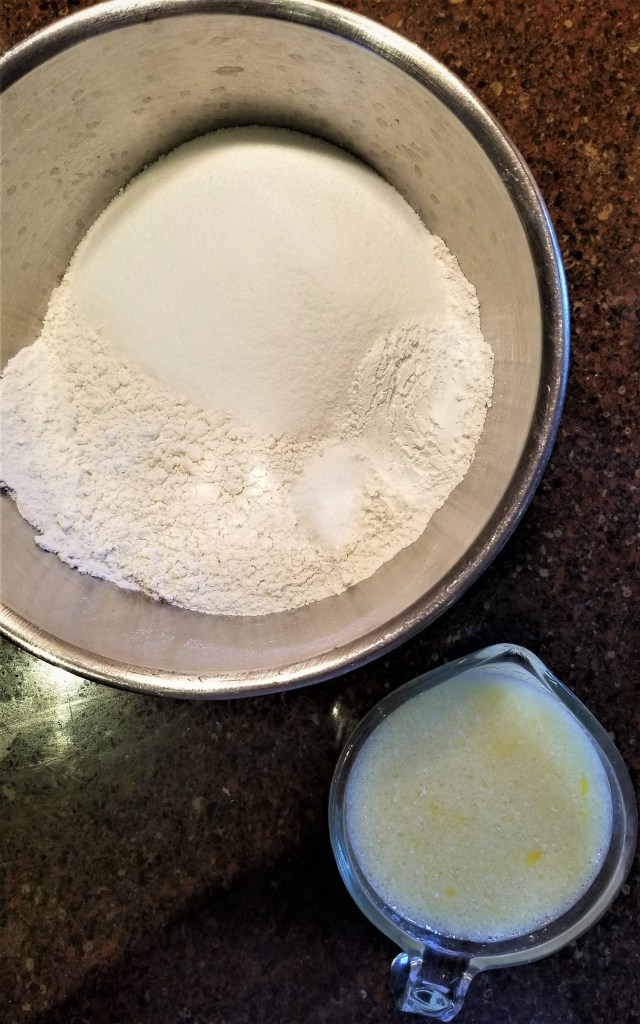
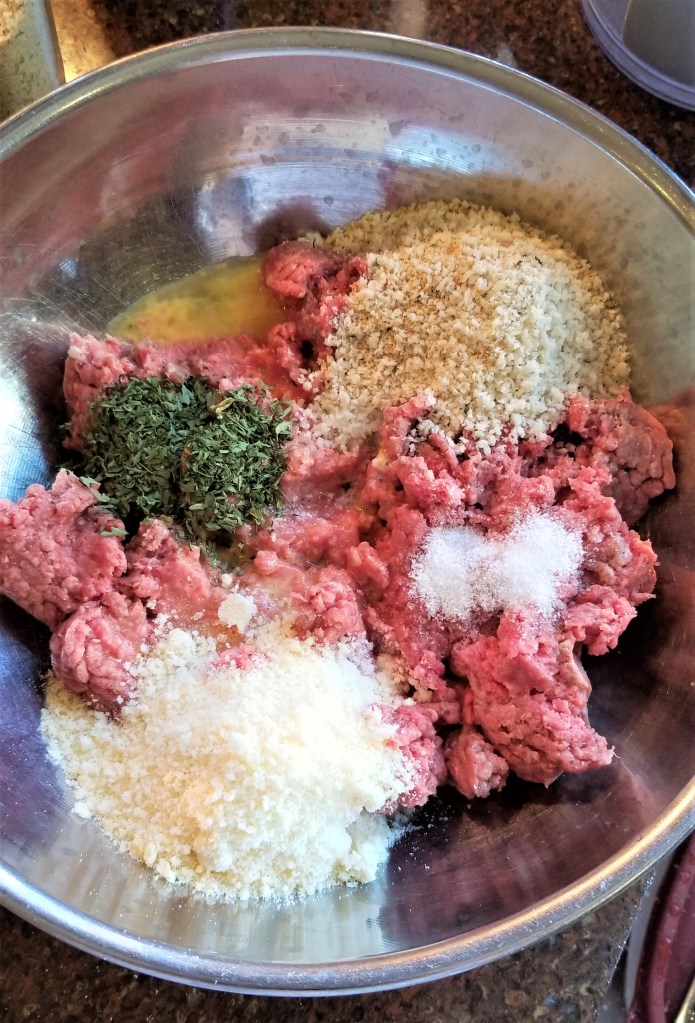
Combine the eggs, cottage cheese and most of the shredded cheese (I save a little to sprinkle on top) in a blender. Pulse three or four times until combined and scrape down the sides if necessary. Mix the vegetable and diced Canadian bacon in a bowl. Pour the mixture into the muffin pan, filling each “muffin” 3/4 of the way. Add a generous teaspoon of the vegetable/meat mixture to each muffin and sprinkle with the remaining cheese.

Place the muffin pan on a cookie sheet and add boiling water to create a water bath. I add the
water once the pan is in the oven to avoid spilling and burning myself (we learn from our mistakes!).


Bake for 30 minutes or until firm. You can eat immediately or once they’re cool, place in the fridge in an airtight container. They will keep for a week (but never last that long in my house!)