When I was growing up, fried zucchini was immensely popular and I specifically remember ordering it at Houston’s restaurant. They were crunchy and seemed like a better option than French fries since zucchini was also a vegetable, even though they were fried. Houston’s served them with horseradish sauce and it’s a combo I loved. I rarely fry food in a big pot of oil because it’s just not the healthiest and I hate the mess it makes in the kitchen. I still love these fries and especially because they are baked in the oven. Panko breadcrumbs are key to making super crunchy “fries” and using only egg whites instead of a full breading (eggs, flour and breadcrumbs) also makes these healthier than the ones I grew up eating. Since these only call for egg whites, handle them gently so you keep all the crunchy goodness on the zucchini.
We made this batch and enjoyed them on their own but they would be a great appetizer for a ballgame or with burgers if you are looking for something beyond french fries.
Ingredients
3 Zucchini, medium to large
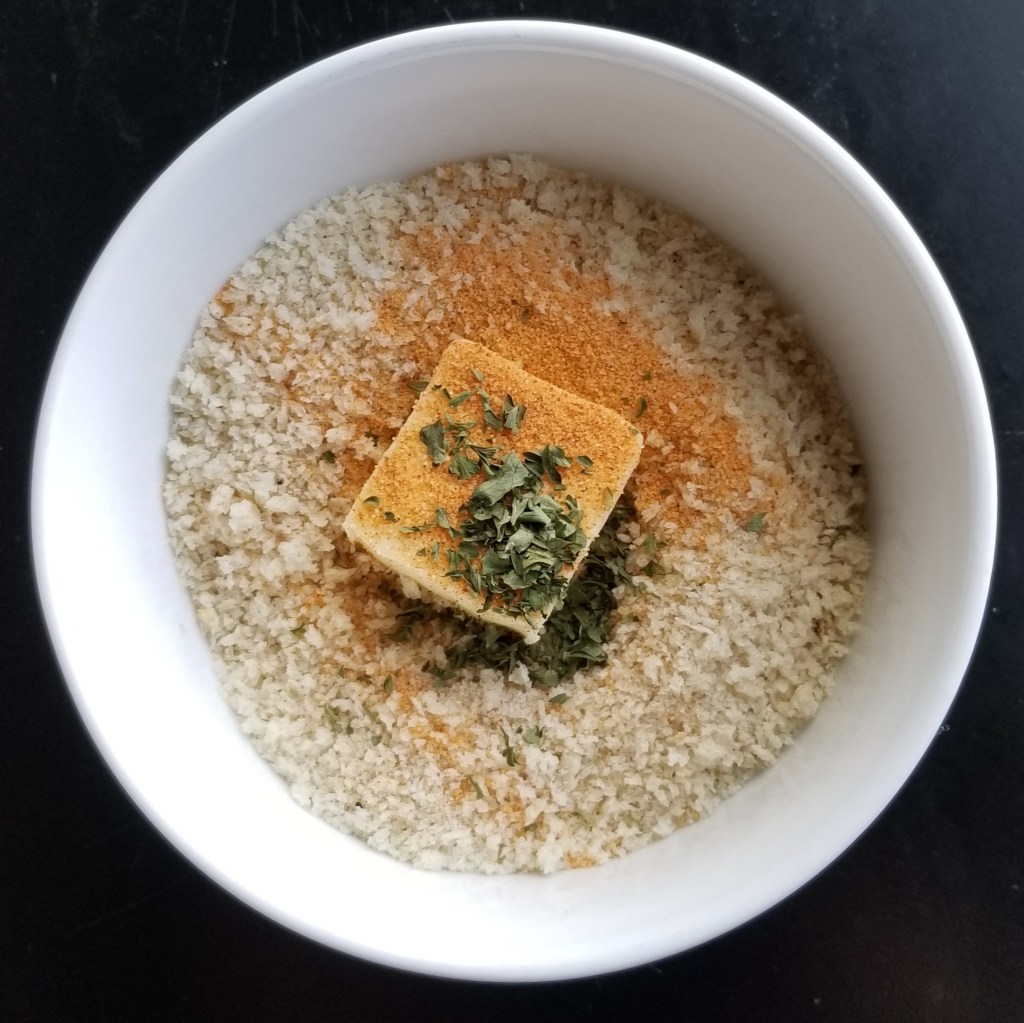
4 c Panko breadcrumbs
1 c Italian seasoned breadcrumbs
½ c Parmesan cheese, finely grated
1 tsp Seasoned salt
4 Egg whites
Canola spray
Preparation
Pre-heat your oven to 400, convection.
Cut the tops and bottoms off each zucchini and then cut them in half through the middle (not from end to end). Cut each into sticks, roughly 18 per zucchini depending on how large they are. Set the cut zucchini on a paper towel to ensure they are dry before you prepare them.

Combine the breadcrumbs, cheese and seasoned salt in a bowl or casserole dish and set aside.
With a whisk, beat the egg whites till they are just frothy. Add the zucchini, a few at a time and then one-by-one, dredge in the breadcrumbs.
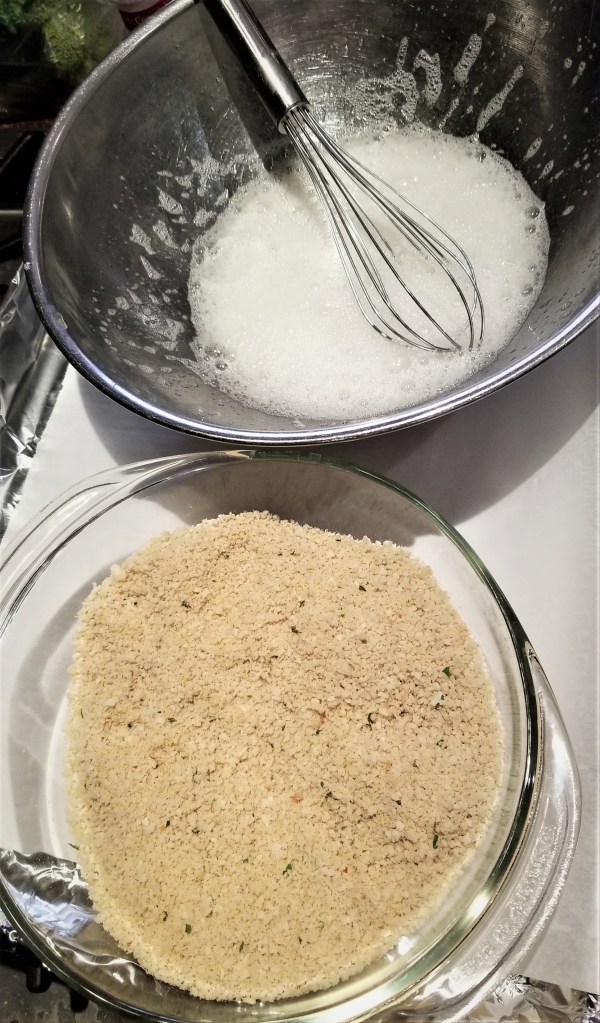
Be sure to press the breadcrumbs onto the zucchini. Carefully place on a parchment-lined cookie sheet in a single layer being careful not to crowed the fries.

Spray the zucchini with canola spray, which will help them brown, and cook at 400 degrees on convection until golden brown and tender, about 20 – 25 minutes.